Table of Contents
TogglePart 2: CAD CAM Software CNC 3D Printing - Practical Control of CNC and 3D Printers
In our previous article Subtractive vs Additive Manufacturing: CNC Machining vs 3D Printing – The Ultimate Hobbyist & Maker Guide (2026) we covered the hardware aspects and differences between CNC machines and 3D Printers. Although additive and subtractive modeling may sound like two distinctive and different machines they share more than a few common areas.
In my own experience the biggest obstacle was the amount of information on the net. You will suffer from information overload.
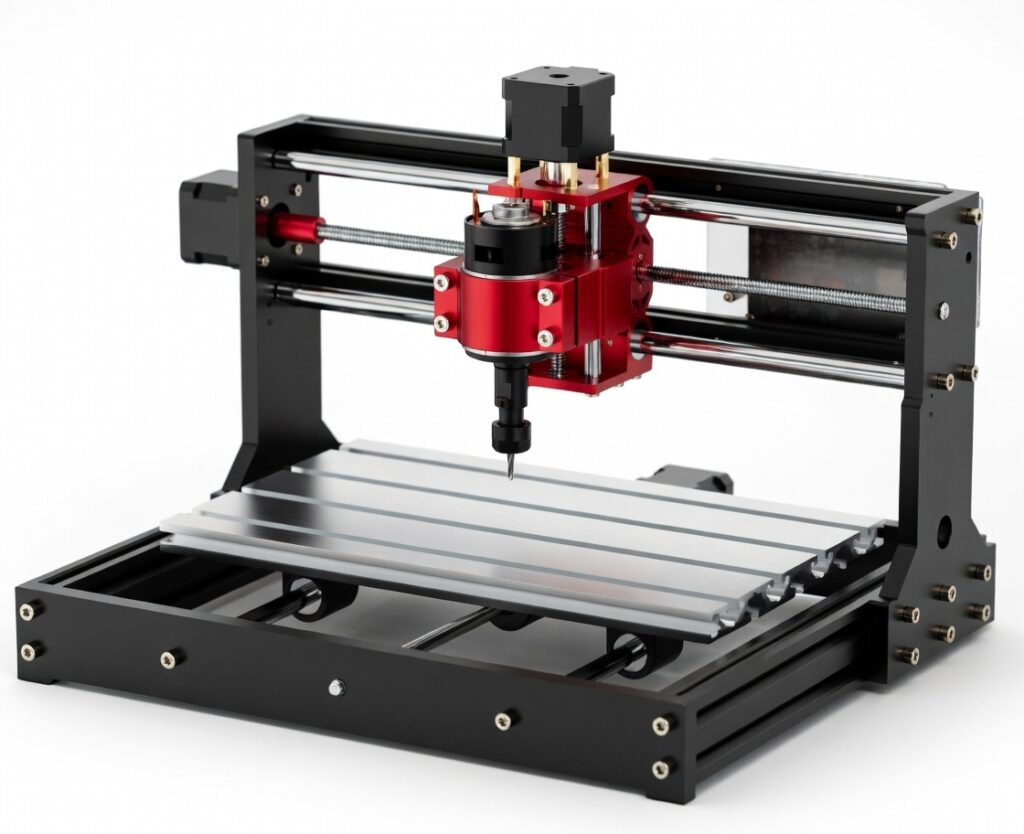
Also, if you know nothing about CNC machines, start with a small 3018 (300 mm × 180 mm) kit. Almost every experienced operator will tell you the same thing: going in blind and building from scratch can easily cost double or even triple what you originally budgeted.
An entry-level kit teaches you the fundamentals, the real-world pros and cons of the mechanical build, and where the money actually goes. For our readers and anyone starting out with CAD, CAM and G-Code, we hope the sections below will give you a clear and practical understanding.
1. The Theory Behind G-Code – What It All Means
G-code is the universal language that tells CNC machines and most 3D printers what to do. It originated in the late 1950s and remains the dominant numerical control language today.
- G-codes (preparatory / geometric) control motion and geometry:
- G0 / G00 – rapid positioning (non-cutting move)
- G1 / G01 – linear feed move
- G2 / G3 – clockwise / counter-clockwise arcs
- G28 – home all axes
- G90 / G91 – absolute or relative positioning
- M-codes (miscellaneous) control machine functions:
- M3 / M4 – spindle on clockwise / counter-clockwise
- M5 – spindle stop
- M8 / M9 – coolant on / off
- M104 / M109 – set extruder temperature (3D printing)
- M140 / M190 – set bed temperature
Each line is a command with parameters (X, Y, Z coordinates, F = feed rate, E = extrusion amount, S = spindle speed, etc.). The controller reads the file line by line and executes the moves. In 3D printing the “E” axis is critical; in CNC the spindle speed (S) and tool selection matter more.
2. CAD and CAM Training – Free and Paid Options
Free / Low-Cost (Ideal for hobbyists):
- Autodesk Fusion 360 Personal Use (still free for non-commercial use in 2026, with some limits on active documents and advanced CAM). Excellent integrated CAD + CAM.
- FreeCAD (completely free, open-source, with Path workbench for CAM).
- YouTube channels and official tutorials (Titans of CNC, Autodesk, FreeCAD community, CNCnutz, etc.).
- Tinkercad for absolute beginners (browser-based).
Paid / Structured Courses:
- Official Autodesk Fusion 360 training (self-paced or instructor-led).
- Udemy / Coursera courses on Fusion 360 or FreeCAD (often R200–R800 during sales).
- Manufacturer-specific training for commercial CAM packages (Mastercam, SolidCAM, etc.) — more expensive but valuable if you move into professional work.
- Local SA options: check TVETs, private training centres, or online platforms that accept South African payment methods.
Recommendation for most enthusiasts: start with Fusion 360 Personal + free YouTube project-based learning, then move to FreeCAD if you want zero ongoing cost.
3. How CAD and CAM Use G-Code to Map Models
- CAD – You design the 3D model (or 2D drawing).
- CAM / Slicer – You define toolpaths (CNC) or layer paths (3D printing).
- CNC CAM: roughing, finishing, drilling, adaptive clearing, etc.
- 3D printing slicer (Cura, PrusaSlicer, Bambu Studio, OrcaSlicer): layer height, infill, supports, speeds, temperatures.
- Post-processor / Slicer engine – Converts the toolpaths into machine-specific G-code.
- The G-code file is sent to the controller (via USB, SD card, network, or flash drive).
Good CAM/slicer software lets you simulate the path so you can catch collisions or inefficient moves before they happen.
4. Controllers and Stepper / Servo Drivers
- Controllers: The “brain”. Examples include GRBL (Arduino-based), DDCS (standalone like the 3.1/4.1 you use), Mach3/4, LinuxCNC, and proprietary boards. Standalone controllers (DDCS style) are more reliable in noisy workshop environments because they don’t depend on a constantly connected PC.
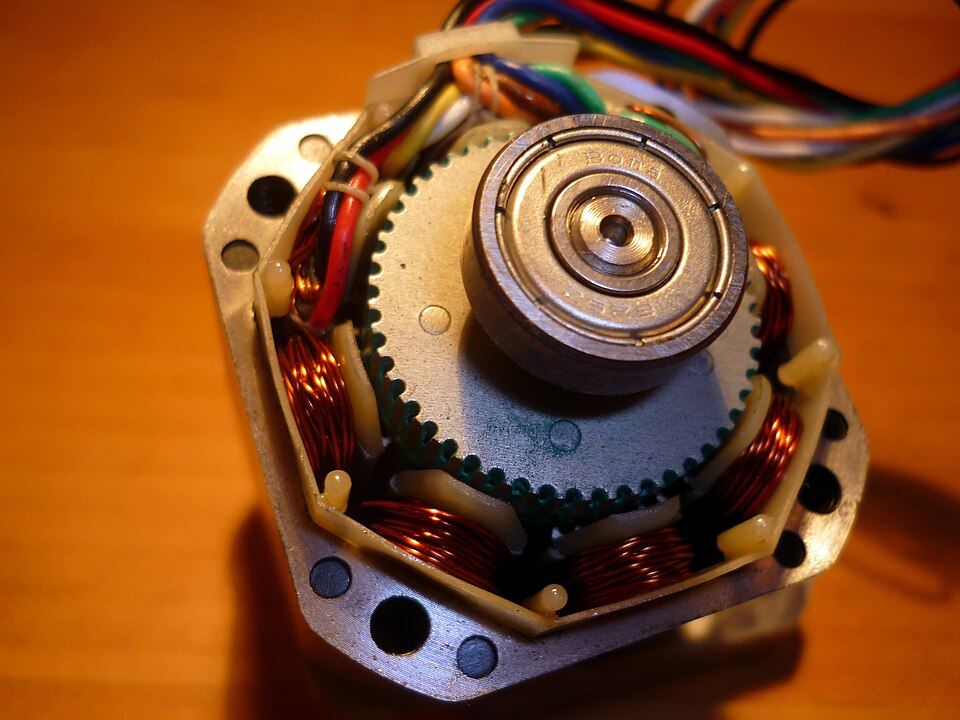
- Stepper drivers: Convert pulse signals into current for stepper motors. Common hobby drivers: TMC2209, DRV8825, A4988, or industrial ones like DM542. They control microstepping, current limiting, and quiet operation.
- Servo drivers: Closed-loop systems with encoder feedback. More expensive, higher performance, better for production or high-speed work. They detect and correct position errors.
Your move from Arduino/GRBL to a 24 V DDCS-style controller is a classic upgrade path that eliminates many EMI and reliability problems.

5. Limit and Homing Switches
- Homing switches tell the machine where zero (home) is so it can establish a reliable coordinate system.
- Limit (hard limit) switches prevent the machine from crashing into the ends of its travel.
Types: mechanical micro-switches, inductive proximity sensors, or optical sensors. Inductive sensors are preferred in dusty environments because they have no moving parts. Always wire them with good shielding and proper grounding.
6. Other Protection Devices (Including Routers)
Essential safety and protection items:
- Emergency Stop (E-stop) button – hard-wired to cut power or trigger a safe stop.
- Soft limits in the controller software (in addition to hard switches).
- Dust extraction / chip collection – critical for health and to keep switches and rails clean.
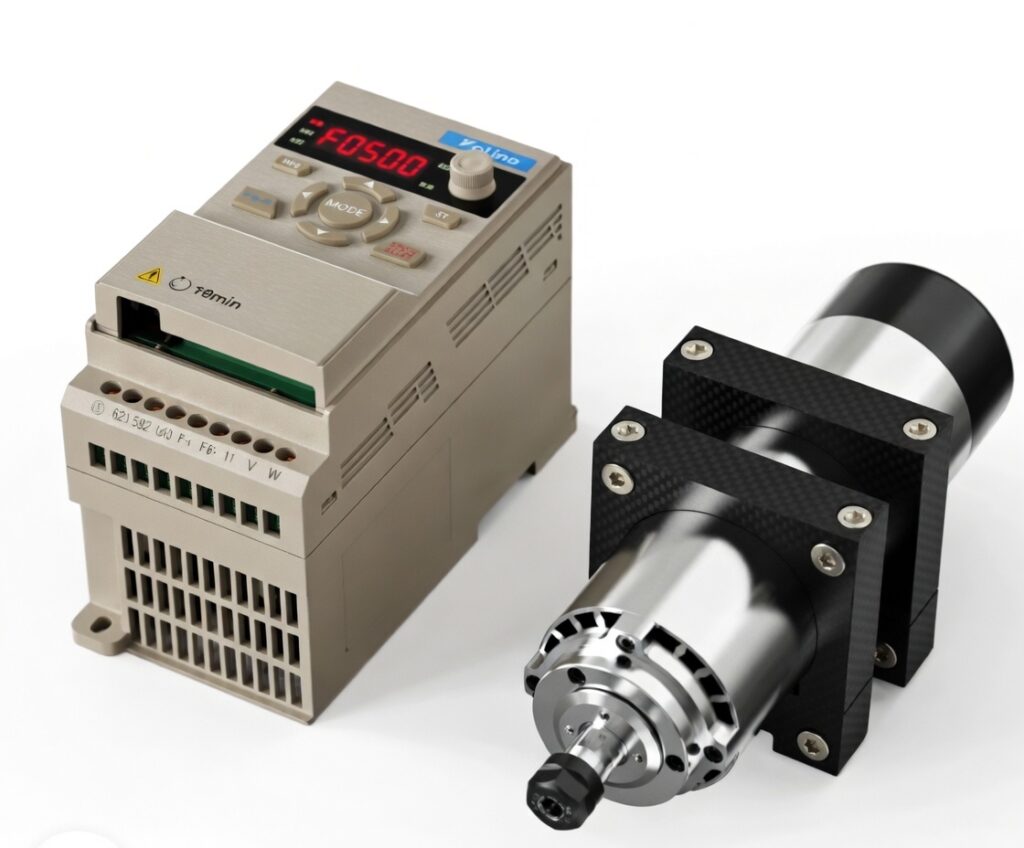
- Spindle / router overload protection and proper VFD settings (if using a VFD spindle).
- Grounding and EMI shielding (especially important with routers that generate a lot of electrical noise).
- Fuses or circuit breakers on the power supply side.
- Optional: spindle current monitoring, smoke/heat sensors on dust collectors for unattended runs.
7. Router or Spindle Speeds with Different Materials
These are starting points for hobby machines (adjust based on tool diameter, flutes, rigidity, and actual results):
| Material | Typical Spindle/Router RPM | Notes |
|---|---|---|
| Softwood | 16 000 – 20 000 | Higher feed rates possible |
| Hardwood | 12 000 – 18 000 | Watch for burning |
| Plywood / MDF | 16 000 – 20 000 | Dusty – good extraction needed |
| Acrylic | 14 000 – 20 000 | Single-flute bits help prevent melting |
| Aluminium (soft) | 8 000 – 14 000 | Lower RPM + higher feed, single-flute preferred |
| Plastics (general) | 12 000 – 18 000 | Avoid melting |
Always calculate chip load and listen/feel the cut. Start conservative and increase feed or decrease depth of cut until the machine runs smoothly.
8. Different 3D Print Filaments – Best Choices for Various Workpieces
- PLA / PLA+: Easiest to print, excellent detail, good for prototypes and display models. Low heat resistance.
- PETG: Best all-rounder for functional parts – tougher than PLA, more temperature resistant, still relatively easy.
- ABS / ASA: Higher heat resistance and outdoor durability (ASA is UV-stable). Needs enclosure and good ventilation.
- TPU (flexible): Phone cases, gaskets, vibration dampers, impact protection.
- Nylon (PA): Strong, wear-resistant (gears, hinges). Hygroscopic – must be kept dry.
- Carbon-fibre or glass-fibre filled: Stiffness and dimensional stability for structural brackets and jigs (abrasive on nozzles).
Match the filament to the job: PLA for quick prototypes, PETG for most functional parts, TPU when flexibility is required, and engineering filaments when strength or heat resistance is critical.
9. DIY Pitfalls of Communication Failure Between PC and Controller
Common issues that stop jobs mid-run:
- USB auto-suspend on the PC (very common).
- EMI from the spindle/router or long unshielded cables interfering with the USB/serial link.
- Poor quality USB cables or hubs.
- Driver problems or Windows power management.
- Buffer underruns when the PC is busy with other tasks.
- Loose connections or ground loops.
Solutions many makers (including yourself) eventually adopt:
- Move to a standalone controller that loads from USB flash drive or SD card.
- Use a powered, high-quality USB hub and disable USB selective suspend.
- Proper shielding, ferrite cores, and star grounding.
- Keep the control PC dedicated and lightly loaded during long jobs.
10. Wrap-Up
Software and control systems turn a design into a physical part. G-code is the common language, CAD/CAM (or a slicer) is the translator, and the controller + drivers + sensors are the muscles and reflexes.
For most DIY and small-workshop users the smart path is:
- Learn solid fundamentals in a free or low-cost package (Fusion 360 Personal or FreeCAD).
- Invest in reliable hardware (good drivers, proper switches, standalone controller if possible).
- Prioritise safety and protection devices.
- Match speeds and materials carefully, and choose the right filament for the job.
Mastering these elements is what separates frustrating experiments from consistent, professional results. The learning curve is real, but the community resources and practical upgrades available today make it very achievable.
Day 1 of Learn Fusion 360 in 30 Days for Complete Beginners! - 2023 EDITION
New to Fusion 360? This is the 2023 version of Day #1 of “Learn Fusion 360 in 30 Days for Complete Beginners” – the most popular Fusion 360 course on the internet! You Tube Channel Product Design Online
Udemy Courses
Further Reading
- Subtractive vs Additive Manufacturing: CNC Machining vs 3D Printing – The Ultimate Hobbyist & Maker Guide (2026)
- Essential Transistors for Beginners: Must-Have Spares, History & Counterfeit Detection (2026) – Part 1
- Power Switching Semiconductors: Thyristors, IGBTs, GTOs, SIDACs & Wide-Bandgap Devices Explained (2026) – Part 2
- Thermionic Valves & Vacuum Tubes: The Enduring Technology Behind Classic Electronics (2026) – Part 3
- FinFET and Gate-All-Around Transistors: Modern 3D Architectures Powering AI & High-Performance Computing (2026) – Part 4
- How Intel Lost Its Way and How They Are Planning to Make a Comeback.
- The Arduino Revolution – From Italian Student Project to Global Maker Powerhouse
Technical Research and Image Credits
- Featured Image: CR3D Image by Christian Reil from Pixabay
- Entry level 3018 CNC Machine from Two Trees. TTC3018 PRO Upgrade. Available at Techup3D.com
- Stepper Motor:- Stepper motor MICROCON SX17-1705; 1.8°; 0.5Nm; 1.7A; 0.35kg. This file is licensed under the Creative Commons Attribution 3.0 Unported license. Dolly1010
NEMA 23 Integrated Servo Motor – 130W – 0.45Nm – 3000rpm – 20-50VDC – Available from VectorCNC.
1.5kW Spindle and VFD from VectorCNC.
- Research: Technical assistance and cross-referencing provided by X’s xAi Grok and Google’s Gemini Ai model.
- Editorial: All case study data, circuit designs, and final editorial decisions are the sole responsibility of the author to ensure technical accuracy